Get ready to dive into the world of driftwood sculpting, where creativity knows no bounds and stunning creations come to life.
Like a skilled artist wielding a paintbrush, you have the power to transform ordinary pieces of driftwood into extraordinary works of art. In this article, we will guide you through 5 master techniques that will elevate your driftwood sculptures to new heights.
Imagine the smooth and weathered texture of driftwood, like a canvas waiting to be painted upon. With a little knowledge and some expert techniques, you can unlock the true potential of this natural material.
From understanding the unique characteristics of driftwood to planning your design, assembling the pieces, and carving with precision, we will cover it all.
Whether you’re a seasoned sculptor or new to the world of art, these techniques will empower you to create stunning driftwood sculptures that captivate the eye and stir the soul.
So, let your imagination run wild and set your artistic spirit free as we embark on this journey of driftwood sculpting mastery.
Key Takeaways
- Driftwood sculpting is a creative art form that transforms ordinary pieces of driftwood into extraordinary works of art.
- Understanding the unique characteristics of driftwood is crucial in driftwood sculpting.
- Proper driftwood preservation is essential for creating stunning sculptures.
– Carving and shaping techniques, such as roughing out, detailing, sanding, burning, lathing, and sculpting, are used to achieve the desired shape and form.
Understanding the Characteristics of Driftwood
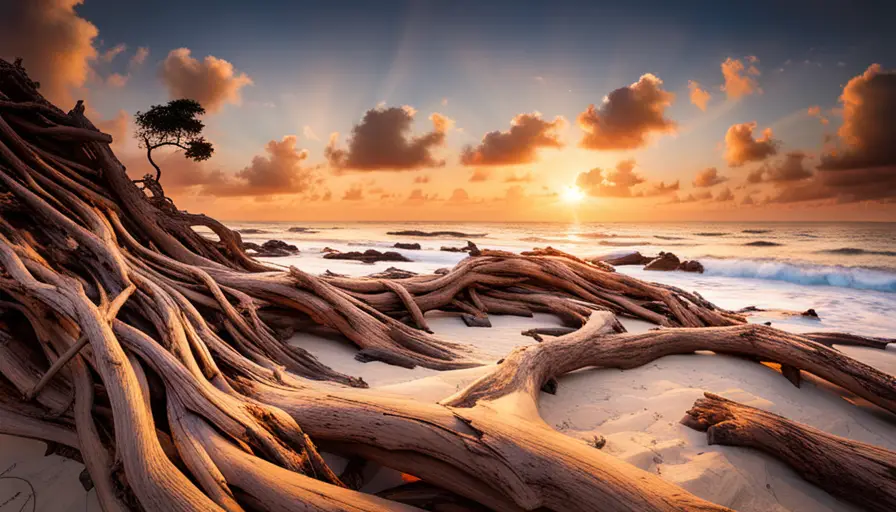
When it comes to driftwood sculpting, it’s crucial to understand the unique characteristics of this natural material. Driftwood preservation is key to maintaining the integrity and longevity of your creations. You can achieve this by cleaning the driftwood thoroughly, removing any dirt or debris that may have accumulated over time.
It’s important to note that driftwood can vary greatly in terms of size, shape, and texture. This natural diversity is what makes each piece so special and allows for endless creative possibilities.
One of the most fascinating aspects of driftwood is its natural color variations. From weathered grays to warm browns, each piece tells a story of its journey through the water. Incorporating these color variations into your sculptures can add depth and visual interest. You can enhance the natural colors by applying a clear sealant or varnish to protect the wood and bring out its true beauty.
Remember, when working with driftwood, you have the freedom to let your imagination run wild. Embrace the organic shapes and textures that nature has provided, and use them to create stunning and unique sculptures. With a little bit of knowledge and a lot of creativity, you can transform a simple piece of driftwood into a captivating work of art.
Preparing and Cleaning the Driftwood
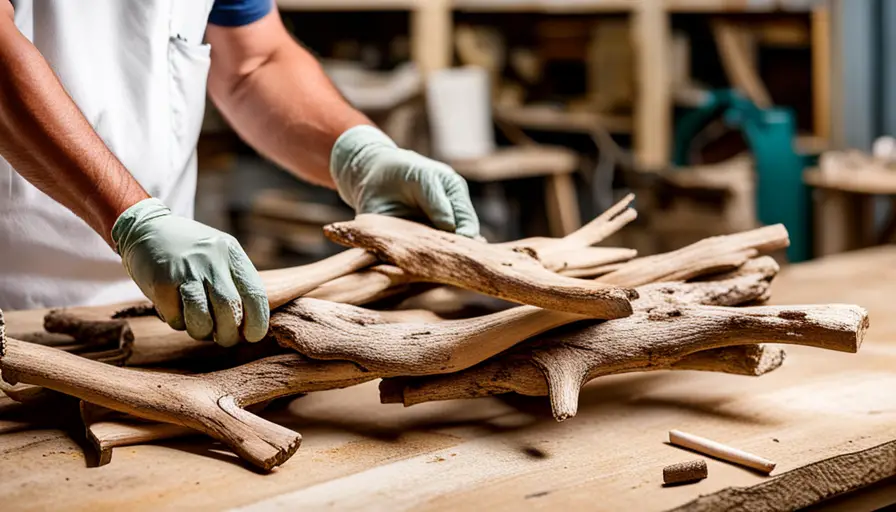
Before you start, make sure to properly prepare and clean the driftwood. Driftwood preservation is essential to ensure that your creations stand the test of time. Cleaning the driftwood not only removes dirt and debris but also helps to enhance its natural beauty. While there are traditional cleaning methods, there are also alternative methods that can be used for a more unique touch.
One alternative cleaning method is to use a solution of vinegar and water. This mixture can help to remove any mold or mildew that may be present on the driftwood. Simply soak the driftwood in the solution for a few hours, then scrub it gently with a brush. Rinse it thoroughly with water and allow it to dry completely before using it for your sculpture.
Another alternative method is to use a solution of bleach and water. This can help to kill any bacteria or algae that may be on the driftwood. However, it’s important to use caution when using bleach, as it can be harmful to the environment. Dilute the bleach with water and soak the driftwood for a short period of time. Rinse it well and allow it to dry before using it.
To summarize, proper driftwood preservation is crucial for creating stunning sculptures. Don’t be afraid to explore alternative cleaning methods to achieve the desired result. Just remember to take care of the environment while doing so.
Planning Your Sculpture Design
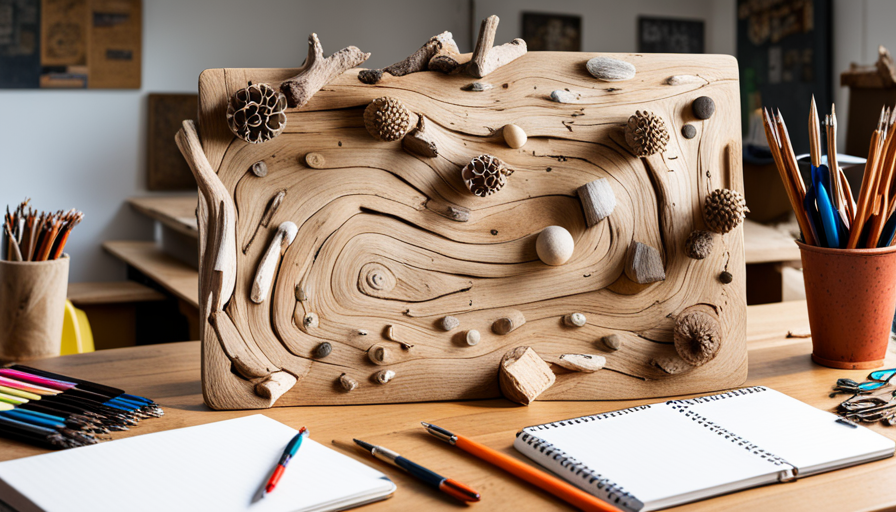
Get ready to unleash your creativity and bring your vision to life with a carefully planned driftwood sculpture design. Before you start working on your masterpiece, it’s important to spend some time sketching ideas and selecting materials.
Sketching allows you to explore different possibilities and refine your design before committing to it. Grab a pencil and a sketchbook, and let your imagination run wild. Consider the shape and size of the driftwood pieces you have available, as well as any other materials you may want to incorporate, such as shells or stones.
Think about the overall theme or concept you want to convey through your sculpture. Do you envision a graceful mermaid, a majestic bird, or perhaps an abstract representation of nature? Once you have a clear idea of your design, it’s time to gather the materials you’ll need.
Take a stroll along the beach and collect driftwood pieces that match your vision. Look for interesting shapes, textures, and colors. Don’t be afraid to experiment with different combinations until you find the perfect pieces that will bring your sculpture to life.
With your sketch and materials in hand, you’re ready to start creating a stunning driftwood sculpture that will captivate and inspire. Let your imagination soar and enjoy the freedom of expressing your creativity through this unique art form.
Assembling and Connecting the Pieces

Now that you’ve gathered your materials and sketched your design, it’s time to bring your vision to life by assembling and connecting the pieces. The joining techniques and securing methods you choose will determine the stability and longevity of your driftwood sculpture.
One of the most common joining techniques is using screws or nails. To do this, pre-drill holes in the driftwood pieces to prevent splitting, and then attach them together using the chosen fastener.
Another method is using adhesives such as epoxy or wood glue. Apply a generous amount of adhesive to the areas that need to be joined, press the pieces together firmly, and allow the adhesive to cure according to the manufacturer’s instructions.
If you prefer a more natural look, you can use rope or wire to secure the driftwood pieces. Wrap the rope or wire tightly around the sections you want to connect, making sure to tie knots or twist the wire securely. This method not only provides stability but also adds an artistic touch to your sculpture.
Remember to experiment with different joining techniques and securing methods to find what works best for your driftwood sculpture. Don’t be afraid to get creative and think outside the box. The beauty of driftwood sculpting lies in the freedom to explore and create stunning, one-of-a-kind creations. So go ahead, assemble and connect those pieces, and watch your vision come to life.
Carving and Shaping Techniques
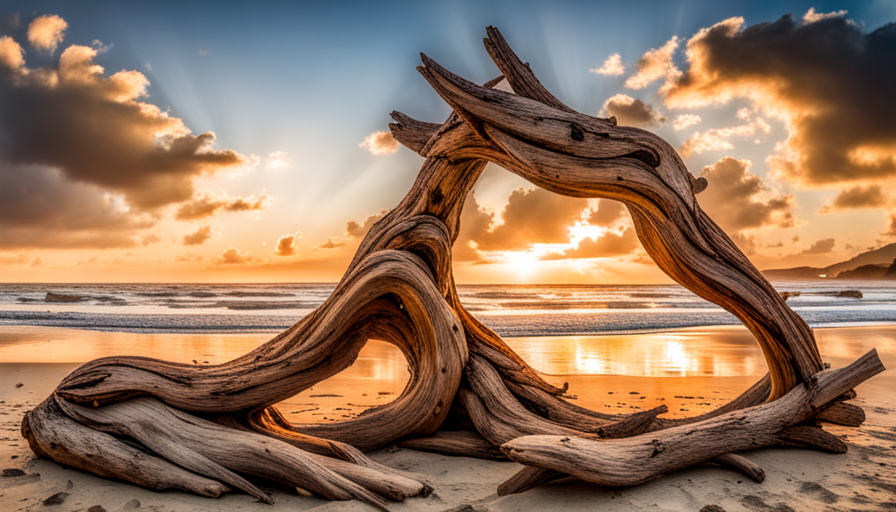
To achieve the desired shape and form, you’ll need to carefully carve and shape the driftwood using tools such as a chisel or a carving knife. For example, imagine you’re sculpting a lifelike bird out of a piece of driftwood.
Here are four woodworking techniques that can help you bring your artistic expression to life:
- Roughing Out: Begin by removing excess wood from the driftwood piece using a chisel or a chainsaw. This technique allows you to establish the basic shape and dimensions of your sculpture.
- Detail Carving: Once you have the rough shape, switch to finer carving tools like a carving knife or gouges to add intricate details. Pay attention to the grain of the wood and use it to your advantage to enhance the texture and realism of your sculpture.
- Shaping and Smoothing: Use sandpaper or a rasp to refine the contours and smooth out any rough edges. This step is crucial in achieving a polished and professional finish.
- Finishing Touches: Apply a protective sealant or varnish to enhance the natural beauty of the wood and protect your sculpture from the elements. Consider adding additional elements like paint or stains to further enhance the artistic appeal.
By incorporating these woodworking techniques into your driftwood sculpting process, you’ll be able to create stunning and unique pieces of art that truly showcase your artistic expression. So let your creativity flow and enjoy the freedom that driftwood sculpting offers.
Finishing and Enhancing Your Sculpture
Once you’ve carved and shaped your driftwood masterpiece, it’s time to add the finishing touches that will truly bring your sculpture to life. Adding texture and using coloring techniques are two key elements that will enhance the beauty and uniqueness of your creation.
To add texture, consider using various tools such as sandpaper, wire brushes, or even a blowtorch. Sandpaper can create smooth and refined surfaces, while wire brushes can add a rough and weathered look. A blowtorch can be used to create interesting patterns and give your sculpture a sense of movement. Experiment with different techniques to achieve the desired texture that complements your design.
Coloring techniques can further enhance the visual appeal of your driftwood sculpture. You can choose to leave the natural color of the driftwood or apply a stain or paint. Stains can deepen the natural color and bring out the wood’s grain patterns, while paint allows for more creative freedom by adding vibrant colors. Consider using a combination of both to create a striking contrast or a subtle blend of hues.
Incorporating these techniques will transform your driftwood sculpture into a true work of art, captivating the viewer’s attention and leaving them in awe of your creative talent. So, let your imagination run wild and enjoy the freedom of bringing your sculpture to life with texture and color.
Displaying and Caring for Your Driftwood Sculpture
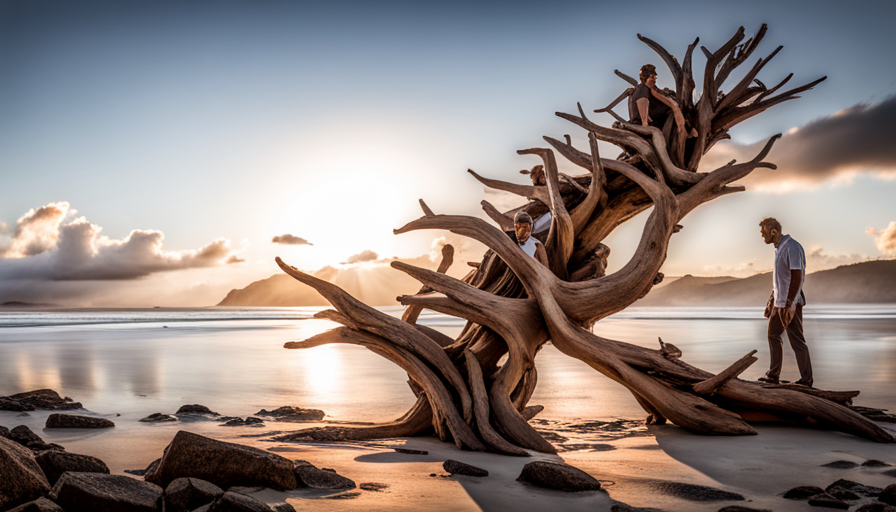
When it comes to displaying your driftwood sculpture, choosing the right location is crucial. Consider the lighting, background, and overall aesthetic of the space to showcase your artwork in its best light.
Additionally, maintaining and cleaning your sculpture is essential to preserve its beauty and longevity. Regular dusting and gentle cleaning techniques will help keep your driftwood creation looking stunning for years to come.
Choosing the Right Display Location
In order to showcase the stunning creations of driftwood sculpting, it’s essential to carefully consider the perfect display location. The right display location can enhance the beauty of the sculpture and captivate the audience.
When choosing a spot, consider the size and shape of the sculpture, as well as the surrounding environment. A larger sculpture may require a spacious area, while a smaller one can be displayed on a tabletop or shelf.
Look for a location that allows the sculpture to stand out and be the focal point of the room. Additionally, finding inspiration for the display can be done by visiting art galleries or museums that feature driftwood sculptures. Observing how professionals display their artwork can provide ideas and techniques for showcasing your own stunning creations.
Remember, the display location should reflect your personal style and create a sense of freedom and expression.
Maintaining and Cleaning Your Artwork
To keep your artwork looking its best, you’ll need to regularly maintain and clean it.
Preserving and protecting your driftwood sculptures is essential for their longevity and aesthetic appeal. Over time, these exquisite creations can accumulate dust and dirt, which can dull their natural beauty.
To restore their vibrancy, start by gently removing any loose dirt or debris with a soft brush or cloth. Be cautious not to scrub too vigorously, as this can damage the delicate wood.
To tackle stubborn dirt, mix a mild soap with warm water and lightly dab the affected areas. Rinse thoroughly and allow the sculpture to air dry.
Remember, regular maintenance and cleaning will ensure that your driftwood sculptures continue to be a source of inspiration and freedom in your space.
Frequently Asked Questions
Where can I find driftwood to use for sculpting?
You can find driftwood suppliers online or at local beachside shops. To preserve driftwood for sculpting, make sure to clean it thoroughly, remove any loose bark, and treat it with a wood preservative.
Can I use any type of wood for driftwood sculpting?
Yes, you can use different types of wood for driftwood sculpting. While driftwood is the most popular choice, other woods like cedar or pine can be treated and preserved to achieve a similar effect.
How long does it take for driftwood to dry before I can start sculpting?
To start driftwood sculpting, you’ll need to let the wood dry completely. This process can take anywhere from a few weeks to several months, depending on the size and moisture content of the wood.
What tools do I need for carving and shaping driftwood?
To shape and carve driftwood, you’ll need a few essential tools: a chainsaw for rough cuts, a rotary tool for finer details, sandpaper for smoothing, and a wood burner for adding texture. Techniques for shaping include carving, sanding, and burning.
How do I prevent insects or pests from damaging my driftwood sculpture?
To prevent insect damage to your driftwood sculpture, use natural methods. Apply a mild insect repellent or seal the sculpture with a protective coating. Regularly inspect and clean your sculpture to keep pests away.
Conclusion
Congratulations on learning the master techniques of driftwood sculpting! You now have the knowledge and skills to create stunning and unique creations.
By understanding the characteristics of driftwood, preparing and cleaning it, planning your design, assembling and connecting the pieces, carving and shaping with precision, and finishing and enhancing your sculpture, you have unlocked a world of creativity.
So, why not let your imagination run wild and create a driftwood sculpture that’ll leave everyone in awe? Can you picture the beauty of your masterpiece displayed in your home or garden? The possibilities are endless!
