Did you know that there are over 180,000 known species of seashells in the world? These beautiful treasures, found along the coastlines, hold a sense of wonder and fascination for many.
Whether you have just returned from a beach vacation or enjoy collecting seashells as a hobby, knowing how to clean and display them can truly enhance their beauty.
In this article, we will guide you through the process of cleaning seashells to achieve a stunning display that will captivate any viewer. From gathering the seashells to polishing and creating unique displays, we will provide you with the scientific, informative, and detailed steps needed to achieve pristine coastal beauties.
So let’s dive in and learn how to bring out the full potential of these natural wonders, and set them free to be admired in all their splendor.
Key Takeaways
- Cleaning seashells enhances their beauty and prepares them for display.
- Proper collection and cleaning techniques are essential for preserving the coastal ecosystem.
- Air drying seashells in a well-ventilated area is important to prevent mold or mildew growth.
– Polishing seashells can restore their shine and increase their value.
Gather Seashells from the Coastline

As you stroll along the water’s edge, let the whispers of the waves guide you to the hidden treasures waiting to be gathered from the sandy embrace of the coastline.
The coastline is a haven for seashell enthusiasts, offering a myriad of seashells that can be used for various seashell crafts. Before embarking on your seashell gathering adventure, it’s important to familiarize yourself with seashell identification.
Seashells come in a vast array of shapes, sizes, and colors, each unique in its own way. To identify seashells, pay attention to their characteristics such as the shape of the shell, the presence of ridges or spines, and the color patterns. A field guide or a seashell identification app can be valuable tools in helping you identify the seashells you come across.
When gathering seashells, it’s essential to respect the environment and follow local regulations. Only collect empty seashells, as live seashells play a vital role in maintaining the coastal ecosystem. Be mindful of fragile habitats, such as coral reefs, and avoid damaging them while searching for seashells.
By practicing responsible seashell gathering, you can not only indulge in the joy of discovering these natural treasures but also contribute to the preservation of these pristine coastal beauties for future generations to enjoy.
So, put on your walking shoes, grab a bucket, and embark on an adventure to gather seashells that’ll inspire your creativity and captivate your imagination.
Remove Sand and Debris
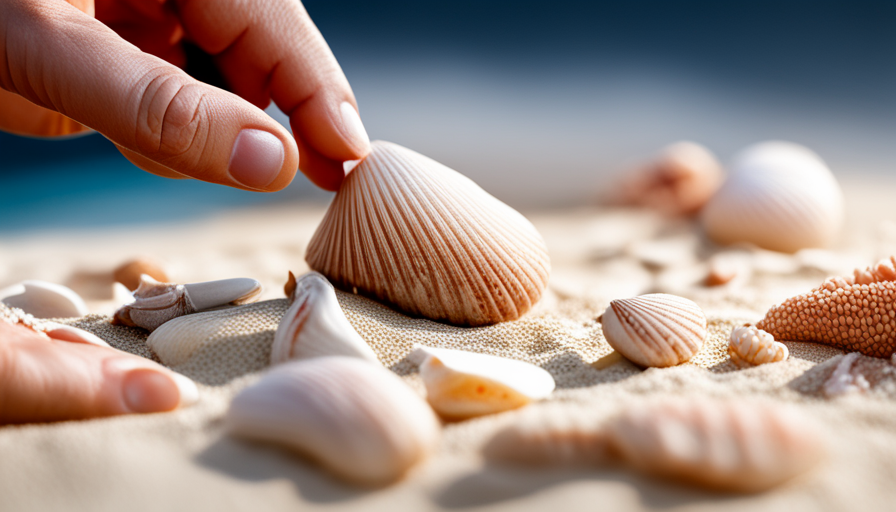
To get your seashells ready for showcasing, start by gently rinsing off any sand or debris. This step is crucial in achieving pristine coastal beauties that’ll make a stunning display.
Here are some seashell cleaning tips to ensure your shells are in their best condition for seashell crafts:
- Fill a bucket or basin with lukewarm water. Avoid using hot water, as it may damage the shells.
- Place the seashells in the water and let ’em soak for a few minutes. This’ll help loosen any stubborn debris.
- Use a soft-bristled brush, like a toothbrush, to gently scrub the shells. Be careful not to apply too much pressure, as this could damage delicate shells.
- Rinse the shells thoroughly with clean water to remove any remaining debris or cleaning solution.
Once the shells are clean, pat ’em dry with a soft towel. Avoid rubbing the shells too vigorously, as this could cause ’em to break.
For an extra shine, you can apply a small amount of mineral oil to the shells using a soft cloth.
By following these seashell cleaning tips, you can ensure that your seashells are ready to be transformed into beautiful seashell crafts. Enjoy the freedom of creativity that comes with showcasing these stunning coastal treasures.
Soak the Shells
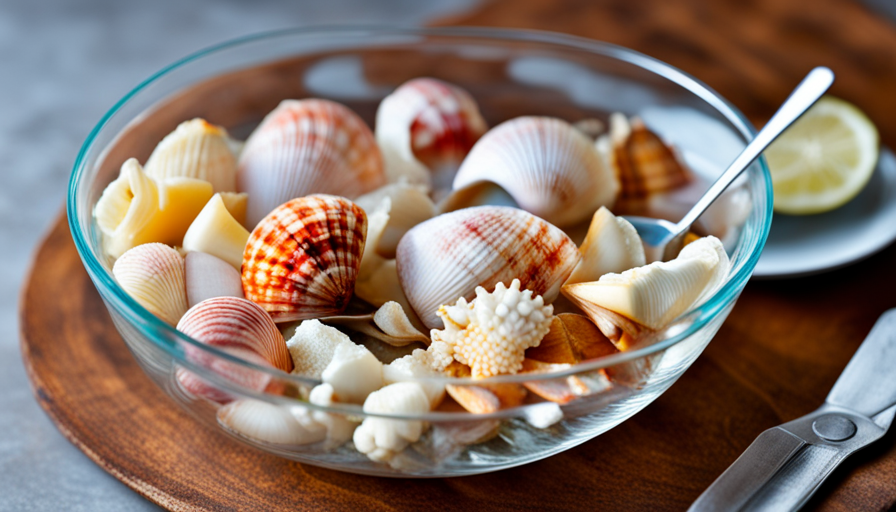
Get your shells ready for crafting by soaking them in lukewarm water to loosen stubborn debris. Soaking the shells is an essential step in the cleaning process as it helps to remove any remaining sand, dirt, or organic matter that may be clinging to the shells.
To create a cleaning solution, you can add a few drops of mild dish soap or a tablespoon of baking soda to the lukewarm water. The soap helps to break down any oils or grease on the shells, while the baking soda acts as a gentle abrasive to remove stubborn stains.
Once you’ve prepared the cleaning solution, place the shells in the water and let them soak for at least 30 minutes. During this time, the lukewarm water will gradually dissolve any leftover debris, making it easier to remove later on.
After the shells have soaked, gently scrub them with a soft-bristled brush to remove any remaining dirt or grime. Be sure to rinse the shells thoroughly with clean water to remove any soap residue.
To ensure proper storage, allow the shells to air dry completely before displaying or storing them. This will help prevent any mold or mildew from forming. Remember to store the shells in a cool, dry place to maintain their pristine condition.
By following these steps, you can ensure that your seashells are thoroughly cleaned and ready for any crafting or display purposes.
Scrub the Shells
Scrubbing the shells will give them a fresh and vibrant look, revealing the hidden beauty of these natural treasures. When it comes to seashell cleaning techniques, scrubbing is a crucial step in preserving their color and overall appearance.
To begin, gather a soft-bristled brush, such as a toothbrush, and a mild detergent. Create a mixture of warm water and the detergent, ensuring it’s not too concentrated to avoid damaging the shells. Gently dip the brush in the soapy solution and start scrubbing the shells, using circular motions to remove any dirt or debris that may be clinging to them.
Be cautious not to scrub too vigorously, as this can result in the removal of the shell’s natural protective coating. Instead, let the brush do the work, applying a gentle yet effective pressure. Rinse the shells thoroughly with clean water after scrubbing to remove any residue from the detergent.
By scrubbing the shells, you’re not only removing impurities but also reviving their colors, making them appear more vibrant and appealing. So take your time, enjoy the process, and witness the transformation of these seashells into stunning display pieces that showcase the wonders of the coast.
Dry the Shells

To dry the shells after cleaning, you should air dry them in a well-ventilated area. This will help remove any remaining moisture and prevent the growth of mold or mildew. Make sure to avoid placing the shells in direct sunlight or near heat sources, as this can cause them to become brittle and lose their natural colors. Instead, choose a cool, dry spot with good airflow to ensure a proper drying process.
Air Dry the Shells in a Well-Ventilated Area
Take a moment to let the shells breathe, allowing them to soak up the salty memories as they dry in a breezy spot, transforming into nature’s own precious jewels.
To ensure the shells maintain their pristine beauty, it’s important to air dry them in a well-ventilated area. This drying technique not only helps preserve their vibrant colors but also prevents any potential mold or mildew growth.
Here are three key steps to follow when air drying your seashells:
- Find a spot with good air circulation, such as a sunny windowsill or a covered outdoor area.
- Place the shells in a single layer on a clean towel or a mesh drying rack, avoiding any overlapping to promote even drying.
- Allow the shells to air dry naturally for several days, turning them occasionally to ensure all sides dry evenly.
By air drying your seashells properly, you can proudly display these natural treasures and relish in the freedom of their preserved coastal beauty.
Avoid Direct Sunlight or Heat Sources
Basking in direct sunlight or exposing seashells to heat sources can result in a loss of their natural luster and vibrant hues. Therefore, it’s crucial to avoid direct sunlight or heat sources while cleaning seashells.
Sunlight and heat can cause the shells to become brittle and fade in color, diminishing their overall aesthetic appeal. When shells are exposed to direct sunlight or heat, the high temperatures can cause the shells to expand and contract rapidly, leading to cracks or breakage.
Additionally, prolonged exposure to sunlight can cause the shells to bleach and lose their original pigmentation. By keeping seashells away from direct sunlight or heat sources, you can ensure that they maintain their pristine condition and vibrant colors, creating a stunning display for all to admire.
Polish the Shells
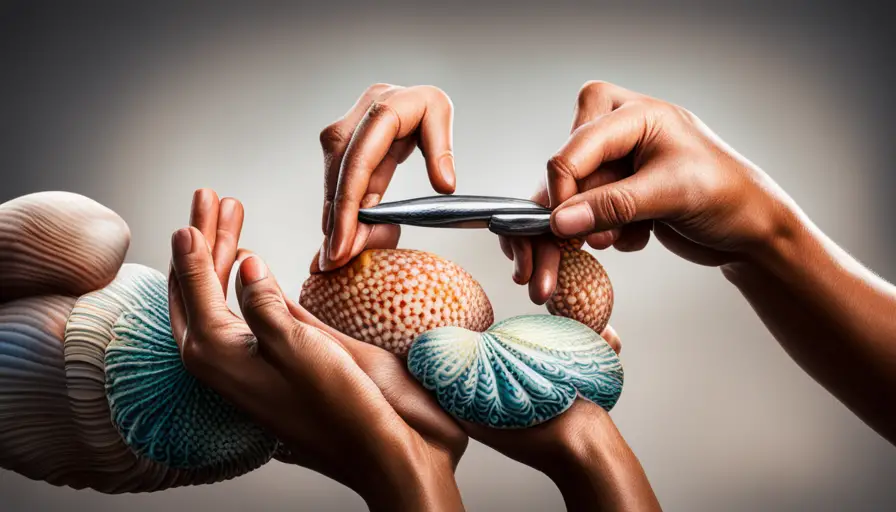
Achieve a stunning display by polishing your seashells to perfection! Shell polishing techniques can elevate the beauty of your seashell collection and enhance the overall aesthetic appeal of your DIY seashell crafts.
To begin, gather the necessary materials: a soft cloth, mild soap, water, and a non-abrasive polish like mineral oil or baby oil.
First, clean the shells thoroughly with a mixture of mild soap and water. Gently scrub away any dirt or debris using a soft cloth.
Next, rinse the shells with clean water and pat them dry. Once the shells are clean and dry, it’s time to polish them.
Apply a small amount of non-abrasive polish to a soft cloth and gently rub it onto the shells in circular motions. This will help restore their natural shine and luster.
Remember to polish both the exterior and interior of the shells for a complete transformation.
Allow the shells to dry completely before displaying them.
By following these shell polishing techniques, you can create a visually captivating display that showcases the pristine coastal beauties in all their glory.
Create Stunning Displays
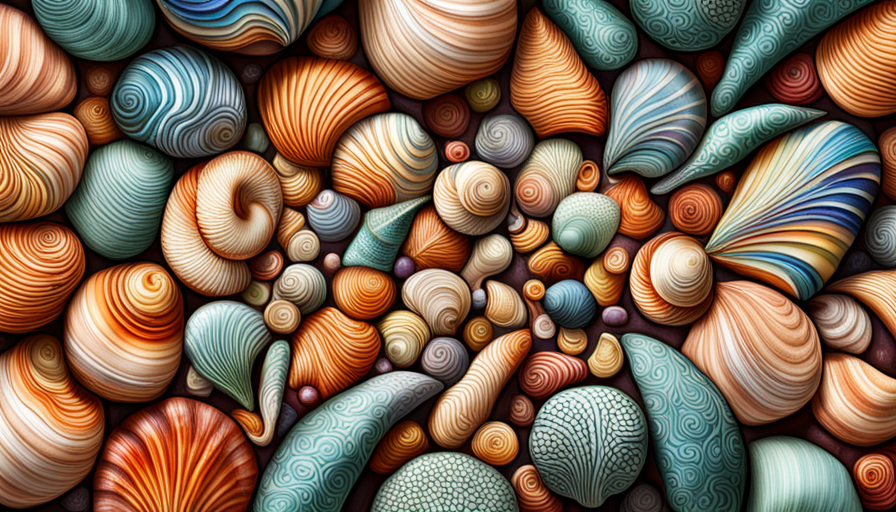
To create an eye-catching showcase for your seashell collection, gather the necessary materials and follow the shell polishing techniques mentioned earlier. Did you know that a well-polished seashell can increase its value by up to 50%?
Now that your shells are polished to perfection, it’s time to learn some display techniques that will truly highlight their beauty.
Firstly, consider the placement of your shells. You can arrange them in a shallow glass bowl or on a decorative tray. Another option is to create a shadow box display, where you can arrange your shells in layers, creating depth and dimension. Make sure to position the larger shells in the back and the smaller ones in the front for optimal visibility.
Next, you can add some natural elements to enhance the overall look. Incorporate driftwood, coral, or even a few smooth pebbles to create a beach-inspired aesthetic. Just be sure that these elements don’t overshadow the seashells themselves.
To ensure the longevity of your seashell display, it’s important to practice proper seashell preservation. Avoid placing your shells in direct sunlight or areas with high humidity, as this can cause fading and deterioration. Additionally, handle your shells with care to prevent any damage.
By following these display techniques and practicing seashell preservation, you can create a stunning showcase that will captivate the attention of anyone who sees it. Enjoy the beauty of your pristine coastal treasures!
Frequently Asked Questions
How do I differentiate between seashells that are safe to collect and those that are protected or endangered species?
To differentiate between seashells that are safe to collect and those that are protected or endangered species, you can refer to scientific guides and resources that provide information on shell identification and conservation efforts for seashells.
Can I use bleach or other harsh chemicals to clean seashells?
You should avoid using bleach or other harsh chemicals to clean seashells. Instead, opt for gentle cleaning methods and bleach alternatives that are safe for both the shells and the environment.
What are some alternative methods for removing tough stains or algae from seashells?
To tackle stubborn stains or algae on seashells, try these alternative methods: gently scrub with a toothbrush and baking soda paste, soak in vinegar or hydrogen peroxide solution, or use a mixture of water and dish soap. These seashell cleaning hacks ensure a flawless display.
Are there any specific precautions I should take while scrubbing the shells to avoid damaging their natural patterns or colors?
To prevent damage to the natural patterns and colors of seashells while scrubbing, use gentle cleaning methods. Avoid harsh chemicals or abrasive tools. Opt for a soft brush or toothbrush and mild soapy water for a safe and effective cleaning process.
How can I prevent seashells from smelling or becoming discolored over time?
To keep your seashells smelling fresh and maintaining their vibrant colors, take preventive measures. Use natural cleaning methods like soaking in a vinegar solution or gently scrubbing with baking soda paste.
Conclusion
In conclusion, by following these simple steps, you can transform your collection of seashells into stunning displays that capture the beauty of the coastline.
As you gather the shells, their intricate patterns and delicate textures will transport you to sandy shores and crashing waves. By removing sand and debris, you reveal their true colors, like gems glistening in the sunlight.
Soaking and scrubbing the shells gently, you uncover their hidden treasures, while allowing them to dry naturally ensures their preservation.
Finally, with a polished finish, your seashells will proudly adorn any space, reminding you of the pristine coastal beauties they once were.

